|
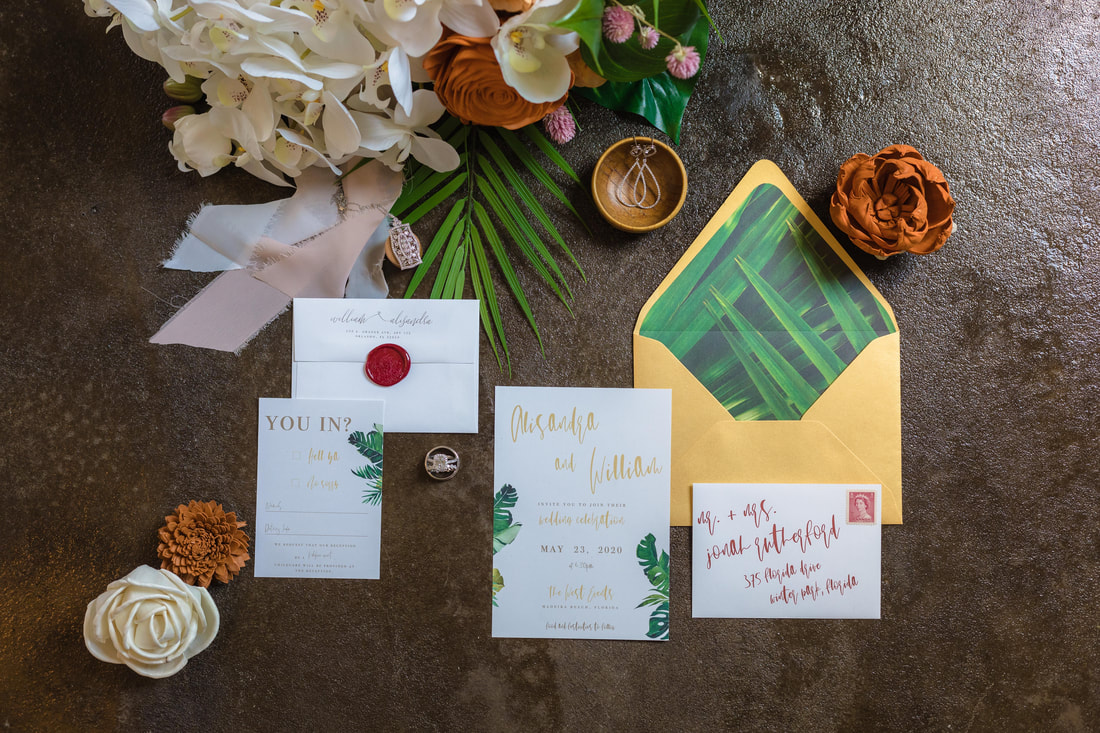
In this post we will walk you through cutting out your own unique envelope liner for your event! (Templates will be included at the bottom of this post) *images are not our own, used for inspo only* Pick your paperThis completely depends on you! You can print an image that you love or use a decorative paper sourced from a craft store like Joann's or Micheal's (that's usually my go to but it can be speedy if you need a lot). You have many options: from a simple solid color to a decorative liner embellished with your initials or your company logo! The options are really endless and you can't go wrong. By handIf you will not be using a cutting machine like a cricut and are using some good old fashioned elbow grease to cut out your envelope liners then we suggest that you 1. Take your background image (this will be the pattern of your envelope liner) and insert it into a word document. 2. Resize the image to fit across the 8.5in x 11in page. 3. Then insert the appropriate envelope liner .png file over top of your other image. 4. Resize the envelope liner so that it is in the appropriate dimensions (you should try this first printing on just a plain sheet of paper to make sure you get the dimensions of your envelope liner spot on). 4a. For the euroflap your width should be 7 inches and height should be 9.5ish inches to fit neatly inside of a 5x7 envelope (the envelope is actually 5.25in x 7.25in. 5. Once you have the envelope outline sized correctly and layed over the desired background then you can go ahead and print the file and cut out as many as you need! 6. We suggest using 2 strips of double sided tape to adhere your liner to your envelope discreetly. An alternative, if you already have the paper you will be using for your envelopes, is to simply print the outline over top of your sheet. OR print out the envelope liner and trace it onto your paper and cut from there! Whatever works--I've done it all on different occasions. Cricut methodIf you've seen any of my instagram stories, you've probably seen me using my cricut to cut envelope liners. It's my new obsession! The awesome thing about using the cricut (besides not having to cut anything yourself) is that if you have the scoring tool it will also score your liners for you which is super nice and looks very professional. (I've included a short video of me working in design space to resize the image I inserted, add a score line, attach the 2 actions and then 'create' the cut. Hope it helps!) 1. First you will start by opening Design Space and starting a new project. 2. You will then go down to the upload tab at the bottom of the left hand menu. 3. In there you will then either upload one of the .svg files we included below. Or you can also upload one of the .PNG files that we've included in this blog also. (We used the .png file) 4. Next, Resize you liner so that the width is 7 inches and leave the shape ratio locked so that you don't mess with that. 5. Insert the score line. To do that you will need to go over to the left hand menu and select the 'shape' tab and select 'score line'. Rotate the score line and move it to the desired placement that looks right to you. 6. Now you will highlight/select both the liner outline and the score line and hit the 'attach' button in the bottom right hand section. 7. Now you can 'Make It'! If you want the file that I have created for this (to bypass these steps) shoot me an email or msg @christinatiffanydesignco on Instagram! Also tag us on social media to show us what you create! Wed love to see what you create :) .png files.svg files (for cricut)Shoot me a msg on social media or an email to [email protected] to get the .svg files that you can upload directly into your cricut and cut! (You may need to resize them).
0 Comments
Leave a Reply. |
The Informed BrideBecause an Informed Bride is a Happy Bride. Christina DaytonChristina is a graphic designer and stationer living in Florida but loves to help brides all over the world on their wedding planning journey with helpful tips. Categories |


